
How to Upgrade/Install Windows 10 For Free from Windows 7 /Windows 8.1

As we know that the mainstream help and extended support for Windows 7 have been stopped after the declaration of the end of support for Windows 7 by Microsoft on January 14, 2020. So, for the sake of security, it is better to Install Windows 10 For Free from Windows 7.
You will not be able to receive future updates, and there will be no security fixes for Windows 7. There will be security risks if you are still using Windows 7. So, for the sake of security, it is better to Install Windows 10 For Free from Windows 7. Apart from these, developers had also ended support for the development of applications for Windows 7. This may cause the pause of app functioning after the update to apps in Windows 7.
Also Read: Microsoft Ends Windows 7 Support From January 14, 2020
So, it is the best idea and option to update from Windows 7 to any other operating system of your choice. Microsoft has left a route open for Windows 7 and Windows 8.1 users to switch to the newer OS i.e Windows 10. Since Microsoft doesn’t take any fee and make it easy for people to upgrade to Windows 10, rather than them sticking with Windows 7, which could potentially become a security risk as no updates will be released for Windows 7 users. So you can upgrade the existing Windows 7 to Windows 10. In this guide, we show you how to upgrade/install Windows 10 for free in your PC from Windows 7 /Windows 8.
How to upgrade/install Windows 10 for free in your PC from Windows 7 /Windows 8.1
The steps for upgrading your PC from Windows 7 /Windows 8.1 to Windows 10 for free from Windows 7 and Windows 8.1 are the same as when Microsoft was officially offering the update.
Check your PC meet the Minimum hardware requirements
To upgrade your PC to the latest version of Windows 10, your pc need to have the following hardware:
- Processer: 1 GHz or faster processor or SoC
- Memory (RAM): 1GB for Windows 10 32-bit or 2GB for Windows 10 64-bit
- Storage: 16 GB for 32-bit OS or 20 GB for 64-bit OS
- Graphic: DirectX 9 compatible or later with WDDM 1.0 driver
- Display Resolution: 800×600
- Internet connection: Internet connection during setup may be required for some versions of Windows 10.
Download the Windows Media Creation Tool
- Download and install the Windows Media Creation Tool in your PC
- Run the Windows Media Creation Tool
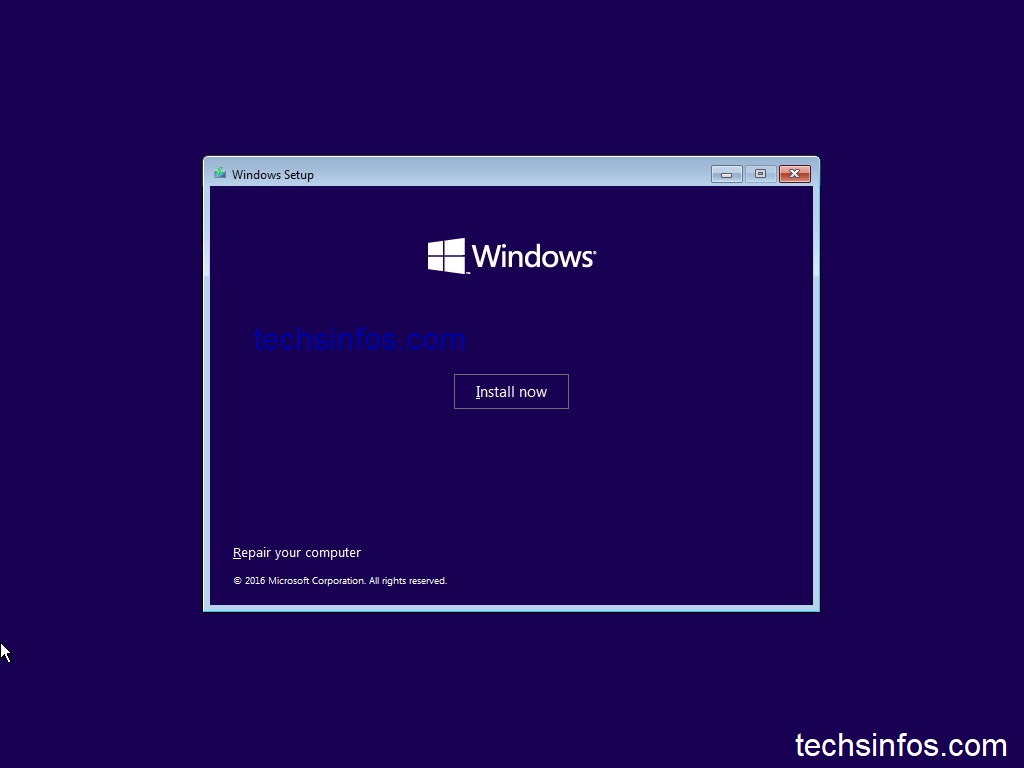
- Select Upgrade this PC now when you reach on the “What do you want to do?” section, and select Next.
- After installing, the tool you will able to go through how to set up Windows 10 on your PC. When you select Windows 10, you will see all available Windows 10 editions, except for Enterprise edition.
- When Windows 10 is ready to install, you’ll see the option of keeping your files and apps or Keep personal files only, or choose to keep Nothing during the installation process. Select Change what to keep to set
- Close all apps and files you may be running, and select Install.
- It might take some time (up to 1hrs )to install Windows 10, and your PC will restart a few times.